navigating the basics of building your first toy robot
Building your first toy robot can be an exciting and rewarding experience. In 2026, the world of robotics is more accessible than ever for beginners. With a plethora of resources, kits, and communities available, getting started is both fun and educational. In this article, we will explore the essential tips and steps to help you create your own toy robot from scratch.
Choosing the Right Kit
For beginners, selecting the right robot kit is crucial. Kits such as the LEGO Mindstorms or VEX Robotics offer comprehensive instructions and all the necessary components. These kits are designed for ease of use, allowing beginners to focus on learning without the frustration of sourcing individual parts. Look for kits that match your interests, whether it is building a walking robot, a remote-controlled vehicle, or a programmable bot.
Understanding Basic Components
Your toy robot will consist of several key components: a microcontroller, motors, sensors, and a power source. The microcontroller acts as the brain of your robot, processing inputs and controlling outputs. Common options include Arduino and Raspberry Pi, which are beginner-friendly and have extensive online support. Motors will provide movement, while sensors can detect obstacles or respond to light and sound. A reliable power source, such as rechargeable batteries, will ensure your robot operates smoothly.
People Also Look For:
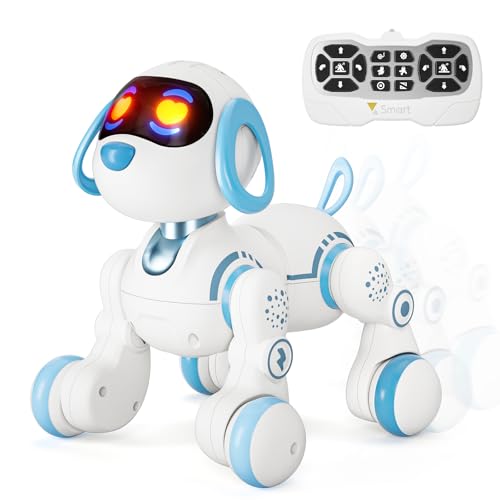
- SIMREX Remote Control Robot Dog Toys for Kids, Stunt RC Cars with LED Eyes & Gesture Control,Boys Girls Birthday Gift, Interactive...
- Felly Dragon Transforming Car Robot Toys for Kids, Automatic Deformation of Magnetic Connections, Car Toys for 2 3 4 5 6 7 8 Years...
- FRUSE Remote Control Dinosaur Toys,Electric RC Spinosaurus w/Light Tracing & Spray Mist,Dinosaur Robot Toys Powered by Rechargeabl...
- koolbitz Interactive 10PCs Kids Cleaning Playset with Simulation Automatic Vacuum Robot Mop Bucket Dustpan & Brush Pretend Role Pl...
- JoyKip Remote Control Robot Smart Programmable RC Dinosaur Robot Toy for Kids - Walking Dancing Singing Roaring Dino Robots Toys w...
Gathering Essential Tools
Before you dive into building, you will need some basic tools. A small screwdriver set, wire cutters, and pliers are essential for assembling parts. Additionally, a soldering iron may be required if you are working with individual components. A multimeter is also handy for testing connections and ensuring everything is functioning correctly. Keep your workspace organised and well-lit to facilitate a smooth building process.
Planning Your Design
Before you start assembling, take the time to sketch out your robot’s design. Consider the function of your robot and how you want it to interact with its environment. Will it navigate obstacles, follow a line, or respond to voice commands? Map out the placement of sensors, motors, and the microcontroller. Planning your design will help you visualise the final product and make the assembly process more straightforward.
Assembling the Robot
Now it’s time to bring your design to life. Start by assembling the chassis, which is the frame of your robot. Follow the instructions provided in your kit or refer to your design. Ensure that all components are securely attached and that wires are neatly arranged to avoid tangling. As you work, check that each component is functioning correctly before moving on to the next step. It is easier to troubleshoot issues early on rather than after the entire robot is built.
Programming Your Robot
Once your robot is assembled, the next step is programming. Depending on the microcontroller you chose, you will likely use different programming languages. Arduino uses a simplified version of C++, while Raspberry Pi can accommodate Python scripts. Start with simple commands to get your robot moving or reacting to sensors. There are numerous online resources and tutorials that can guide you through the programming process, making it easier to learn as you go.
Testing and Iterating
After programming, it is time to test your robot. Observe how it performs and identify any issues that arise. Be prepared to make adjustments, whether it involves tweaking the code or modifying the hardware. Iteration is a natural part of the building process, and every challenge presents an opportunity to learn and improve your robot. Remember to celebrate small successes and enjoy the journey of creation.